Kombucha
KombuchaI have been maintaining a kombucha culture (known as a SCOBY) for a few years now after learning how easy it is to maintain and interested in the gut health benefits, etc. Also, I had been maintaining a sourdough 1-2 years before getting into kombucha and came to really enjoy fermentation... recently i've also been experimenting with lacto fermenting limes and watermelon rinds; fun stuff :)
I got my starter culture from my local homebrew shop, which came with a SCOBY pellicle and 1 cup of starter liquid. I experimented with a few recipes/methods and tweaked out my own, which has been working quite fine for me since. Most recipes call for 2 cups of starter liquid, so I started with a half batch for my first run. I use a 2 gallon carboy, which allows for my full batch which tops of nice, with just a small buffer left at the top and I cover with an elastic fabric cloth bowl cover for breathability. My first fermentation runs for 10-20 days (depending on ambient temperature; longer in the winter, shorter in the summer) and pH sits between 2.5 - 3.2; it's important to know the pH at first because safely speaking, the "shelf stable" cutoff for foods is 4.5, anything higher is dangerous for consumption due to bacteria growth, etc. but I would be worried from high 3 upwards (I would recommend a pH meter and knowing how to calibrate it regularly if you want to take up any fermentation). My 2nd fermentation is around 2-3 days, but I prefer light carbonation; both 1st/2nd fermentation is room temperature but keep out of direct heat and drafts, interior-most in your home is best. After both ferments, put it in the first for at least 6-12 hours before opening it up to taste, which allows the fermentation to slow down. From now on, I will refer to first and second ferments as F1 and F2, respectively.
See my process below: for first batch, follow all steps sequentially, adjusting amounts depending on how much starter liquid you have i.e. if you are starting with only 1 cup of starter liquid instead of 2.75 cups.
Continuous batching
If this is your second batch and beyond, where you already have F1 ready to bottle, you will need to take a break during step 2 to bottle unless you have two F1 vessels; I only have one carboy, so I go through steps 1-2, then steps 10-13, where I can clean my carboy to be ready for step 3. So I will have my F1 started when I start my last F2.
My kombucha recipe
- 2.75 cups (or ~650mL) starter liquid + SCOBY
- 30g loose leaf tea (25g black, 5g green)
- 3.33 cups (~666g) of raw cane sugar
- 8 cups (~2L) of boiling water
- 4 cups (~1L) room temperature water
- 4 cups chilled water
- A few hours or a day before you plan to make your batch, put 4 cups of water in the refrigerator so its chilled by batch-time
- To kickoff the process, boil 8 cups of water and steep your tea for 30-60 mins
- Strain tea into your fermentation vessel/carboy
- Add sugar and stir until dissolved
- Add room temperature water and stir, then wait for it to cool down a bit (30-60 mins)
- Add chilled water, stir and check temperature. Ideally we want below 85F (~29C), so we don't kill off the yeast/bacteria when the starter liquid + SCOBY are added
- Once were at safe temp for the culture, add starter liquid, stir and then add SCOBY
- Cover with breathable lid i.e. bowl cover or cheesecloth
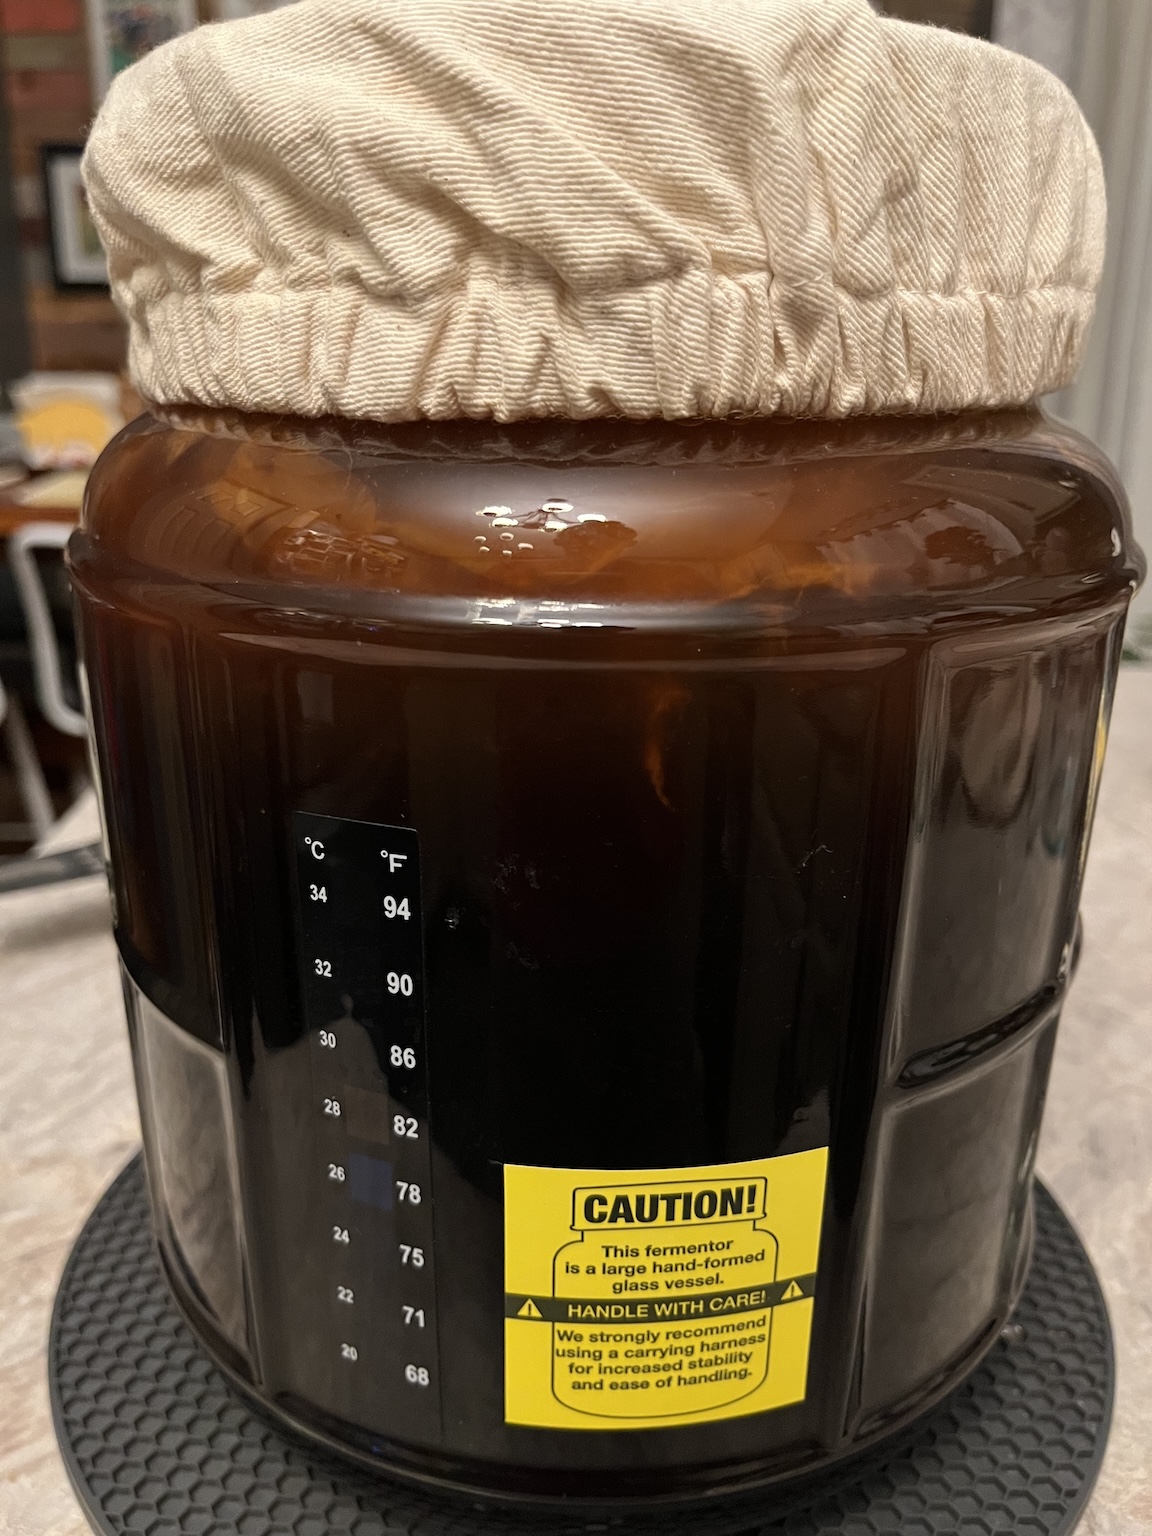
- F1 starts now: wait 10 days and taste; if too sweet for your liking, extend the ferment for a day or so longer and repeat until your happy with it. Your time will vary depending on temperature (ideally 75 - 85F), if you are below 75F (~23-24C), the yeast/bacteria will be less active. If you are 70F (~21C) or below, you should keep it warm somehow; I've wrapped the ferment in a towel with a warm water bottle, changing the water inside the bottle with warm water every day or so and using an infrared thermometer to check the temp without unwrapping it much. Its also a good idea to keep an eye on the pH for your first few batches until you get the hang of things, the longer the ferment, the acidity will lower and you want to make sure you don't fall into the dangerous range (> 4.5); ideally you should be somewhere between 2 - 3.5.
- Once F1 is complete, you can be done but if you prefer carbonation, get ready for the second ferment. Prepare four clean 1L flip-top bottles, they must be able to handle the pressure of 2nd ferment, I would recommend using designated-for fermentation bottles or else you risk exploding bottles and glass shards; not fun or safe. I usually clean my bottles with warm water or warm soapy water. If you have visible build-up that is not going away after normal wash, you can soak them in PBW for a few hours, which is specifically made for cleaning fermentation bottles; however, I use OxiClean FREE which is the scent-free OxiClean, but do your own research on that since its made for washing clothing and may not be food-safe. Another cleaning method is to use a small amount of isopropyl alcohol and some kosher salt, shake vigorously, which can help but more laborious vs a soak. Rinse with water a few times afterwards to remove any cleaning product residue.
- Remove SCOBY from F1 and set aside in a medium-large bowl, along with starter liquid for next batch; keep covered to avoid risk of contamination (fruit flies laying eggs, etc.). SCOBY will continue to grow, so if its getting too big, thin it out by separating the layers; discard or compost the excess (SCOBY discard if a favorite food in my vermicompost bins!)
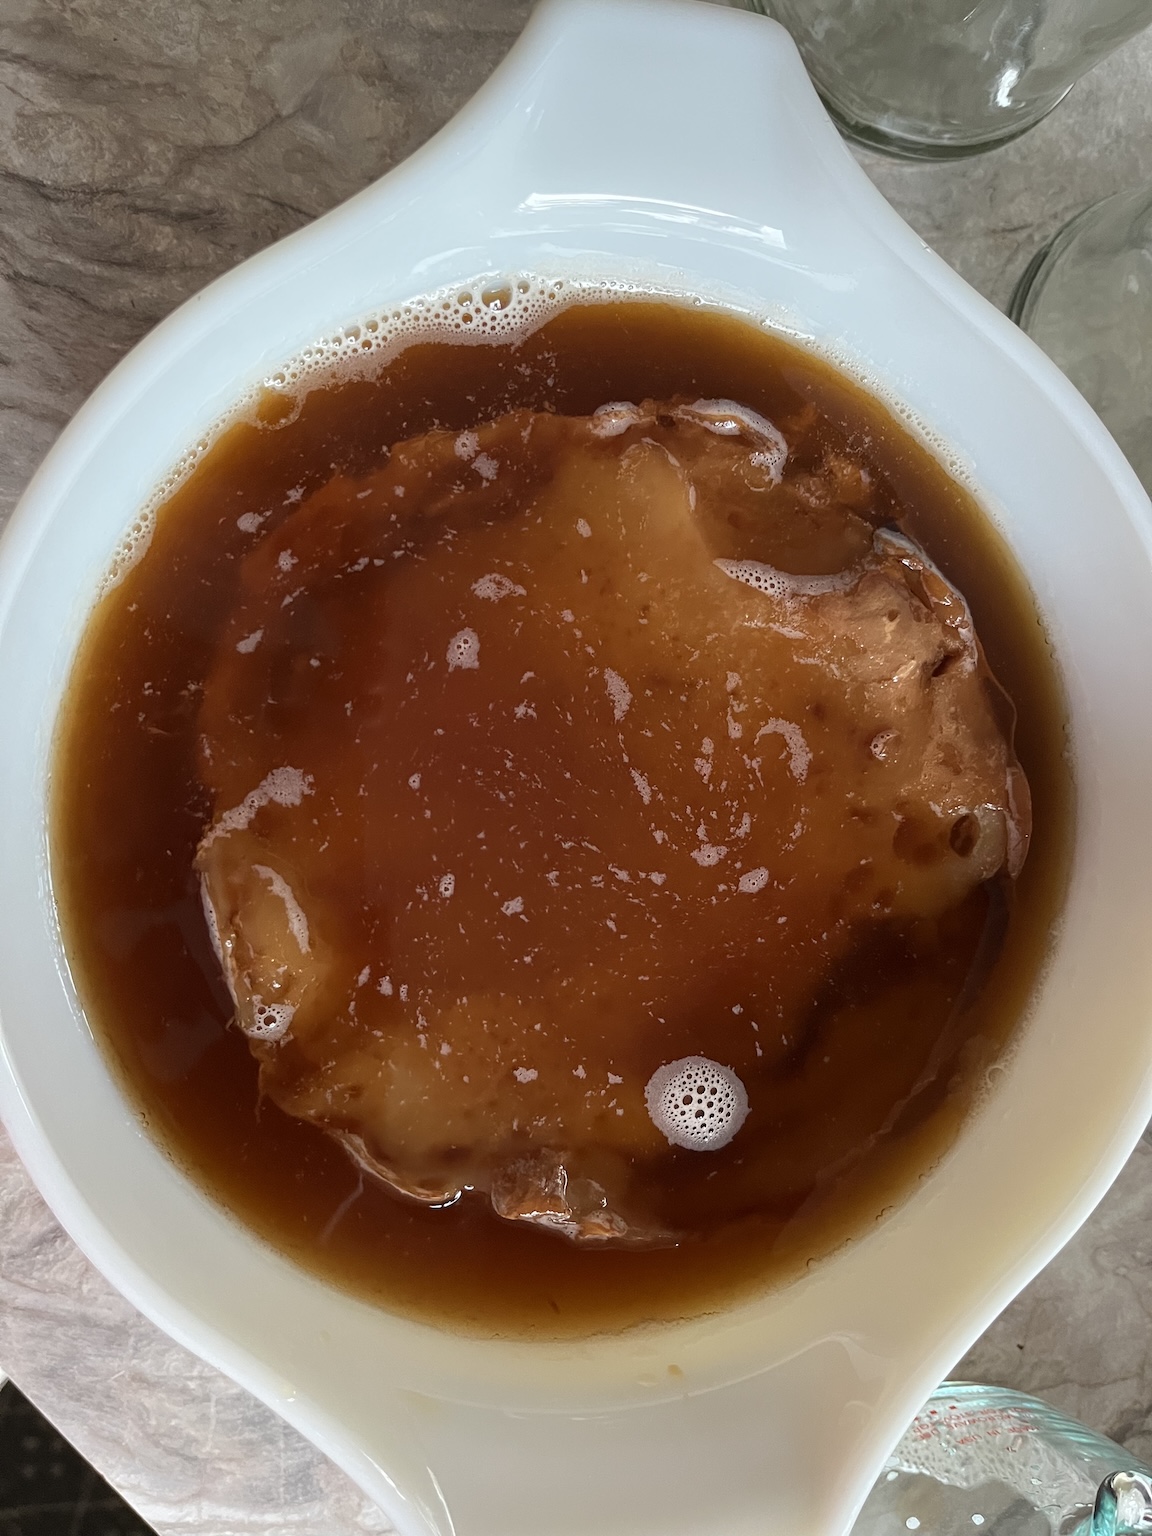
- What is left in the F1 vessel (around ~16 cups or 3.7L) is ready to bottle for consumption (if skipping F2) or F2. Divide equally into your bottles; if you are using four 1L bottles, you will have some room left after this step, which you want if you are preparing for F2 but consuming out of F1, you can fill it all the way although my recipe does not account for this, where you will be shorted
- Fill the remaining buffer in each bottle with your F2 "food": this can be a variety of things from fruit (cut into spears or small chunks), fruit juice, fruit puree/pulp, raisins, more sugar; basically sugar content, some folks even use kool-aid packets. Keep in mind, the more sugar or "food" you provide in F2 for yeast/bacteria, can yield more carbonation due to yeast/bacteria activity, which can vastly change how much carbonation you produce and the time needed in F2; you can experiment with this but as a general scale, watered down juice will provide the least, with puree or more sugar probably the most and surface area matters, dropping fruit chunks in will generate less co2 than puree. I like to use fruit nectar (guava or mango) or high pulp orange juice as a lazy method that still has good results. Ginger root (in spears) is a very good addition and has a nice flavor. Some others are chunks of cherry, apple, guava, mango, lime, lemon, grapes, berries, .. lots of possibilities. Even when using fresh fruit, I usually top it off with juice and I have never added sugar directly to F2. However, I like very light carbonation and even have a pretty short F2 due to that. Once your bottles are filled, seal them using the flip-top to secure the lid.
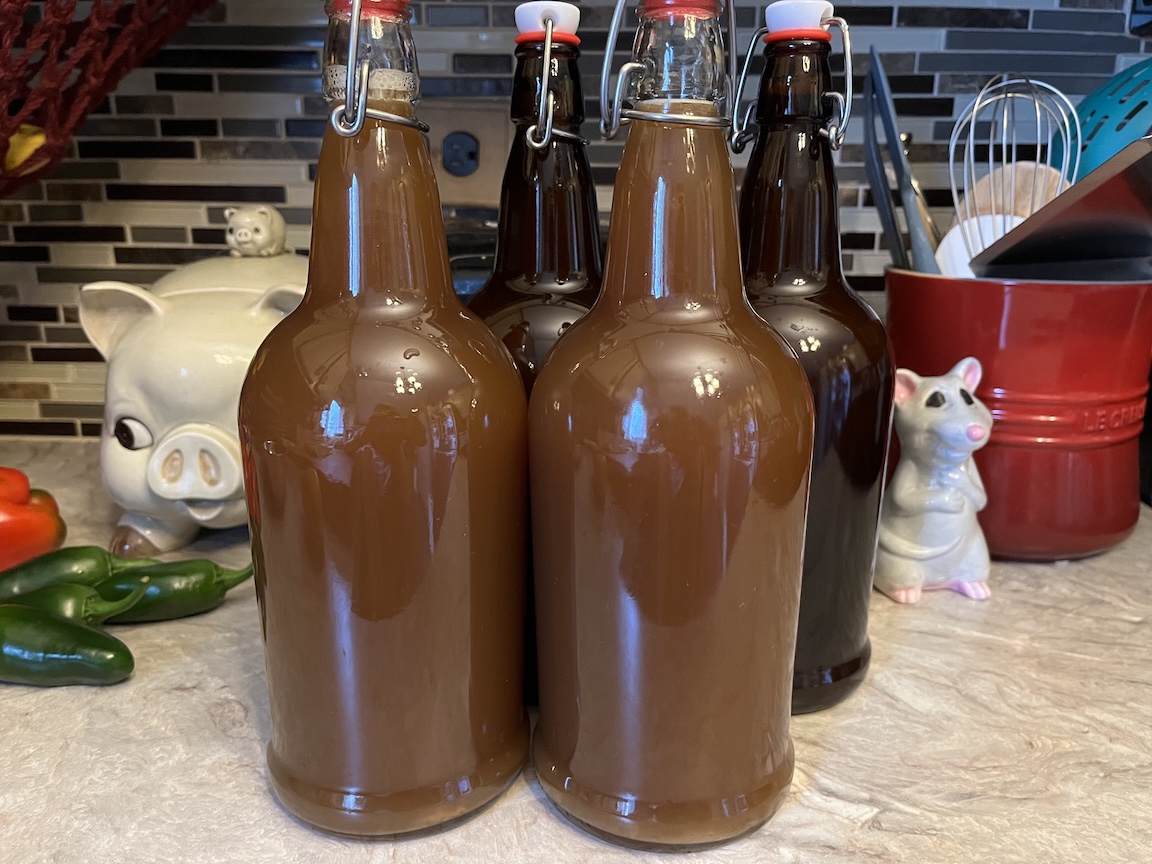
- F2 starts now: wait 2-5 days but I would lean on the shorter end until you figure out how much carbonation you are yielding. Do not open! I simply tip the bottle upside down and rightside up again to watch the bubbles to get a sense for co2 activity in the bottle. If you are ready, put the bottles in the refrigerator and wait 6-12 hours before opening to avoid a wet ceiling and wasted kombucha. Cold temps slow fermentation down drastically, so F2 still continues in the fridge but much slower (not sure on how much slower but I read somewhere that sourdough starter is like 1:20 i.e. 1 day at room temp is like 20 days in the fridge, so kombucha might be somewhere in that range but I do not have any data to support because I usually consume mine within 1-2 weeks)
- After cooldown period of 6-12 hours in the fridge, it is ready to consume! Enjoy!